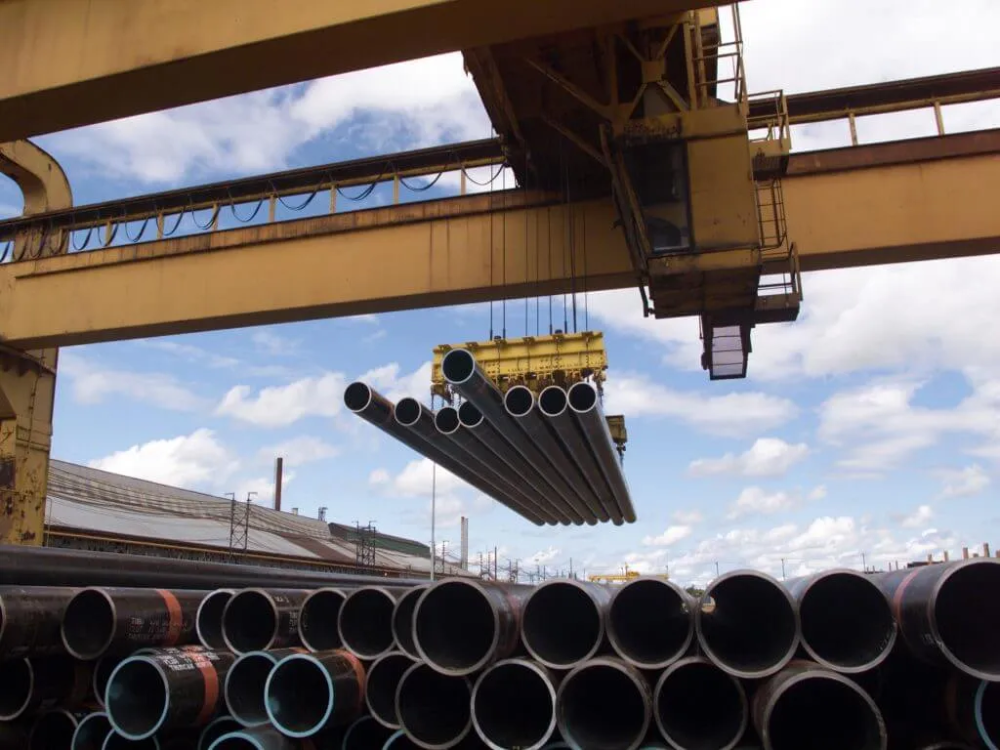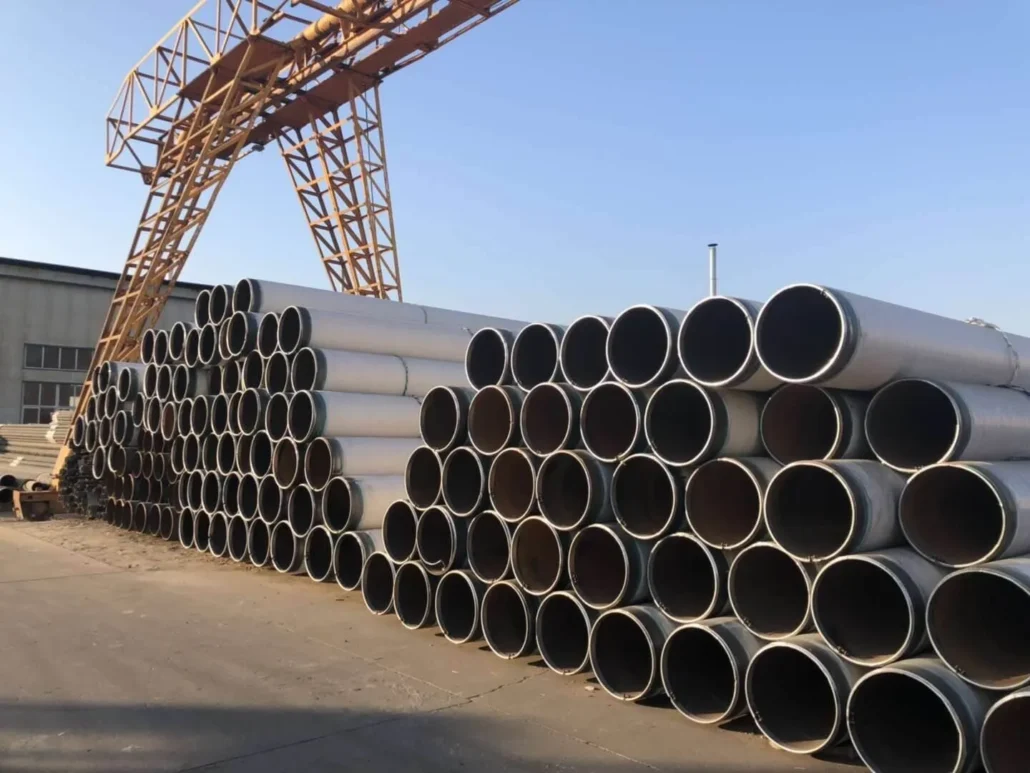
What is AS 1163 Steel Pipe?
AS/NZS 1163 is the standard for cold-formed resistance-welded steel hollow sections in Australia and New Zealand. It applies to all steel hollow sections used in building structures.
The standard has multiple grades such as C250, C350, C450, etc. The grade value represents the minimum yield strength of the material (in MPa).
The testing requirements of AS/NZS 1163 include how to cut samples for tensile and impact tests, the aging process, the quality of the hollow section length, and the external welds. These steps help ensure that the product meets quality standards.
Types and Grades of AS 1163
AS/NZS 1163 covers a variety of types and grades, including:
- Circular Hollow Sections (CHS) in grades C250, C250L0, C350, C350L0, C450, and C450L0
- Rectangular Hollow Sections (RHS) in grades C250, C250L0, C350, C350L0, C450, and C450L0
- Square Hollow Sections (SHS) in grades C250, C250L0, C350, C350L0, C450, and C450L0
The AS 1163 standard provides a variety of options for structural requirements of different strengths. The following are the characteristics and application scenarios of several key grades C250, C350 and C450.
AS 1163 C250
AS 1163 C250 has a minimum yield strength of 250 megapascals (MPa). It is low cost, easy to process and weld, suitable for projects with limited budgets and low strength requirements.
AS 1163 C350
AS 1163 C350 is the most commonly used grade in AS 1163, with a yield strength of 350 MPa, and is widely used in frame structures of commercial buildings.
AS 1163 C450
Its minimum yield strength is 450 MPa. It has high strength and low temperature toughness, and is often used in heavy structures.
AS 1163 Specification
| Type | ERW (CHS), HOLLOW SECTION (CHS, RHS, SHS) |
|---|---|
| Wall thickness | 1.6 mm to 16 mm |
| Size | Round Hollow Sections (CHS): 21.3 mm* 165.1 mm, larger sizes up to 610 mm are available depending on the manufacturer’s capabilities. |
| Square Hollow Sections (SHS): 20mm*20mm – 400mm*400mm | |
| Rectangular Hollow Sections (RHS): 50 *20 mm – 500 mm * 300 mm |
Chemical Compositions
| Standard | Grade | Chemical Composition % max | ||||||||||
|---|---|---|---|---|---|---|---|---|---|---|---|---|
| C | Si | Mn | P | S | Cr | Mo | AI | Ti | Micro-alloying elements | CE | ||
| AS/NZ 1163 | C250 | 0.12 | 0.05 | 0.5 | 0.03 | 0.03 | 0.15 | 0.1 | 0.1 | 0.04 | 0.03 | 0.25 |
| C250L0 | ||||||||||||
| C350 | 0.2 | 0.25 | 1.6 | 0.03 | 0.03 | 0.3 | 0.1 | 0.1 | 0.04 | 0.15 | 0.43 | |
| C350L0 | ||||||||||||
| C450 | 0.2 | 0.25 | 1.7 | 0.03 | 0.03 | 0.3 | 0.35 | 0.1 | 0.04 | 0.15 | 0.43 | |
| C450L0 | ||||||||||||
| ASTM A53 | B | 0.3 | – | 1.2 | 0.05 | 0.045 | 0.4 | – | – | – | – | – |
Mechanical Properties
| Standard | Grade | Tensile Strength | Yield Strength | Impact Test |
|---|---|---|---|---|
| (MPa) | (MPa) | (J) | ||
| AS/NZ 1163 | C250,C250L0 | 320 | 250 | mpact tests shall be performed at 0°C in accordance with AS 1544.2 |
| C350,C350L0 | 430 | 350 | ||
| C450,C450L0 | 500 | 450 | ||
| ASTM A53 | B | >415 | ≥240 | – |
Manufacturing Process of AS 1163 Hollow Sections
The manufacturing process of AS 1163 hollow sections involves a series of carefully controlled steps to produce cold-formed electric resistance welded (ERW) structural steel hollow sections that meet the stringent requirements of the standard.
The process ensures that the sections meet the mechanical properties, dimensional tolerances and quality standards specified in AS/NZS 1163:2016. Below are the detailed steps of the manufacturing process.
Raw Material Selection
The process begins with the selection of high-quality steel coils, usually made from low carbon steel to meet the chemical composition requirements of AS 1163. The steel must meet the carbon equivalent (CE) limits of the standard.
Forming and Welding
AS 1163 uses cold forming work hardening to increase the strength of the steel. Once the steel strip is formed into a tubular shape, the edges are joined together and welded using electric resistance welding (ERW).
Surface Treatment and Finishing
Hollow sections are usually treated with a rolled surface treatment. AS 1163 involves other surface treatments such as galvanizing and coating.
Mechanical Test Requirements of AS 1163 Pipe

AS/NZS 1163 pipe must undergo several mechanical tests, including a tensile test in accordance with AS 1391, an impact test at 0°C as per AS 1544.2, and a cold flattening test.
Tensile Test
The tensile test is carried out in accordance with AS 1391. The rate of straining when approaching the yield point shall lie within the highest range of strain rate given in AS 1391. This test measures the force required to pull something such as rope, wire, or a structural beam to the point where it breaks.
Impact Test
Impact tests are performed at 0°C in accordance with AS 1544.2. This test measures the material’s resistance to high-rate loading and is used to determine the amount of energy absorbed by the material during fracture. This is important in assessing the material’s toughness.
Cold Flattening Test
The cold flattening test is conducted at room temperature between two parallel plane surfaces. The weld is located at 45 degrees for nominal outside diameters less than or equal to 60 mm and at 90 degrees for diameters greater than 60 mm. The test piece is flattened until the distance between the surfaces is 0.75d, where d is the nominal diameter of the circular hollow section.
Difference between AS/NZS 1163 and ASTM A53 B
While both AS/NZS 1163 and ASTM A53 B are standards for steel products, they differ in scope, application, chemical composition, and mechanical properties.
1. Scope
ASTM A53 B is a standard specification for pipe, steel, black and hot-dipped, zinc-coated, welded, and seamless. On the other hand, AS/NZS 1163 specifies the requirements for cold-formed steel hollow sections for structural purposes.
2. Application
ASTM A53 B is a general steel pipe specification that covers galvanized pipe and black pipe. It is available in Type S (seamless), Type E (ERW, electric resistance welded longitudinal seam), and Type F (furnace welded). AS/NZS 1163 is used in a variety of applications including pipe piling, fabrication, oil & gas, bollards, sign poles, water well drilling, and many more.
3. Chemical Compositions
AS/NZS 1163 and ASTM A53 B have different chemical compositions. For instance, AS/NZS 1163 C250 has a maximum carbon content of 0.12%, while ASTM A53 B has a maximum carbon content of 0.3%.
4. Mechanical Properties
The mechanical properties of AS/NZS 1163 and ASTM A53 B also differ. For example, AS/NZS 1163 C250 has a tensile strength of 320 MPa and a yield strength of 250 MPa, while ASTM A53 B has a tensile strength greater than 415 MPa and a yield strength of at least 240 MPa.
